

Planning a Coastal Kitchen: A Step-by-Step Design Guide
A custom kitchen is one of the most significant investments you will make in your home. It changes the way the space feels, the way it functions, and the way your household uses it every day. At Central Coast Kitchens & Wardrobes, we design and build custom kitchens for homeowners across the Central Coast, from Gosford and Terrigal through to Wamberal, Erina, Avoca Beach, Wyoming and the broader Wyong corridor.
Every kitchen we build is made to measure. That means your layout, cabinet sizes, benchtop, hardware and finishes are all designed around your specific space and how you want the kitchen to work, not taken off a shelf and assembled to approximate your dimensions.
Step 1: Start With Layout and Light, Not Colour
Before anything else, work out how the space is actually going to be used and where the light comes from. This sounds obvious, and it’s the step almost everyone skips.
A coastal kitchen depends on light doing a lot of the visual work. If a wall of upper cabinets is about to block the one window that brings morning light in, no amount of white paint will fix that later. Walk the space at different times of day if you can. A Terrigal kitchen chasing low morning light off the water is a different design problem to a Wyoming or Green Point kitchen further from the coast, where the light is more consistent and the layout can carry more of the design weight.
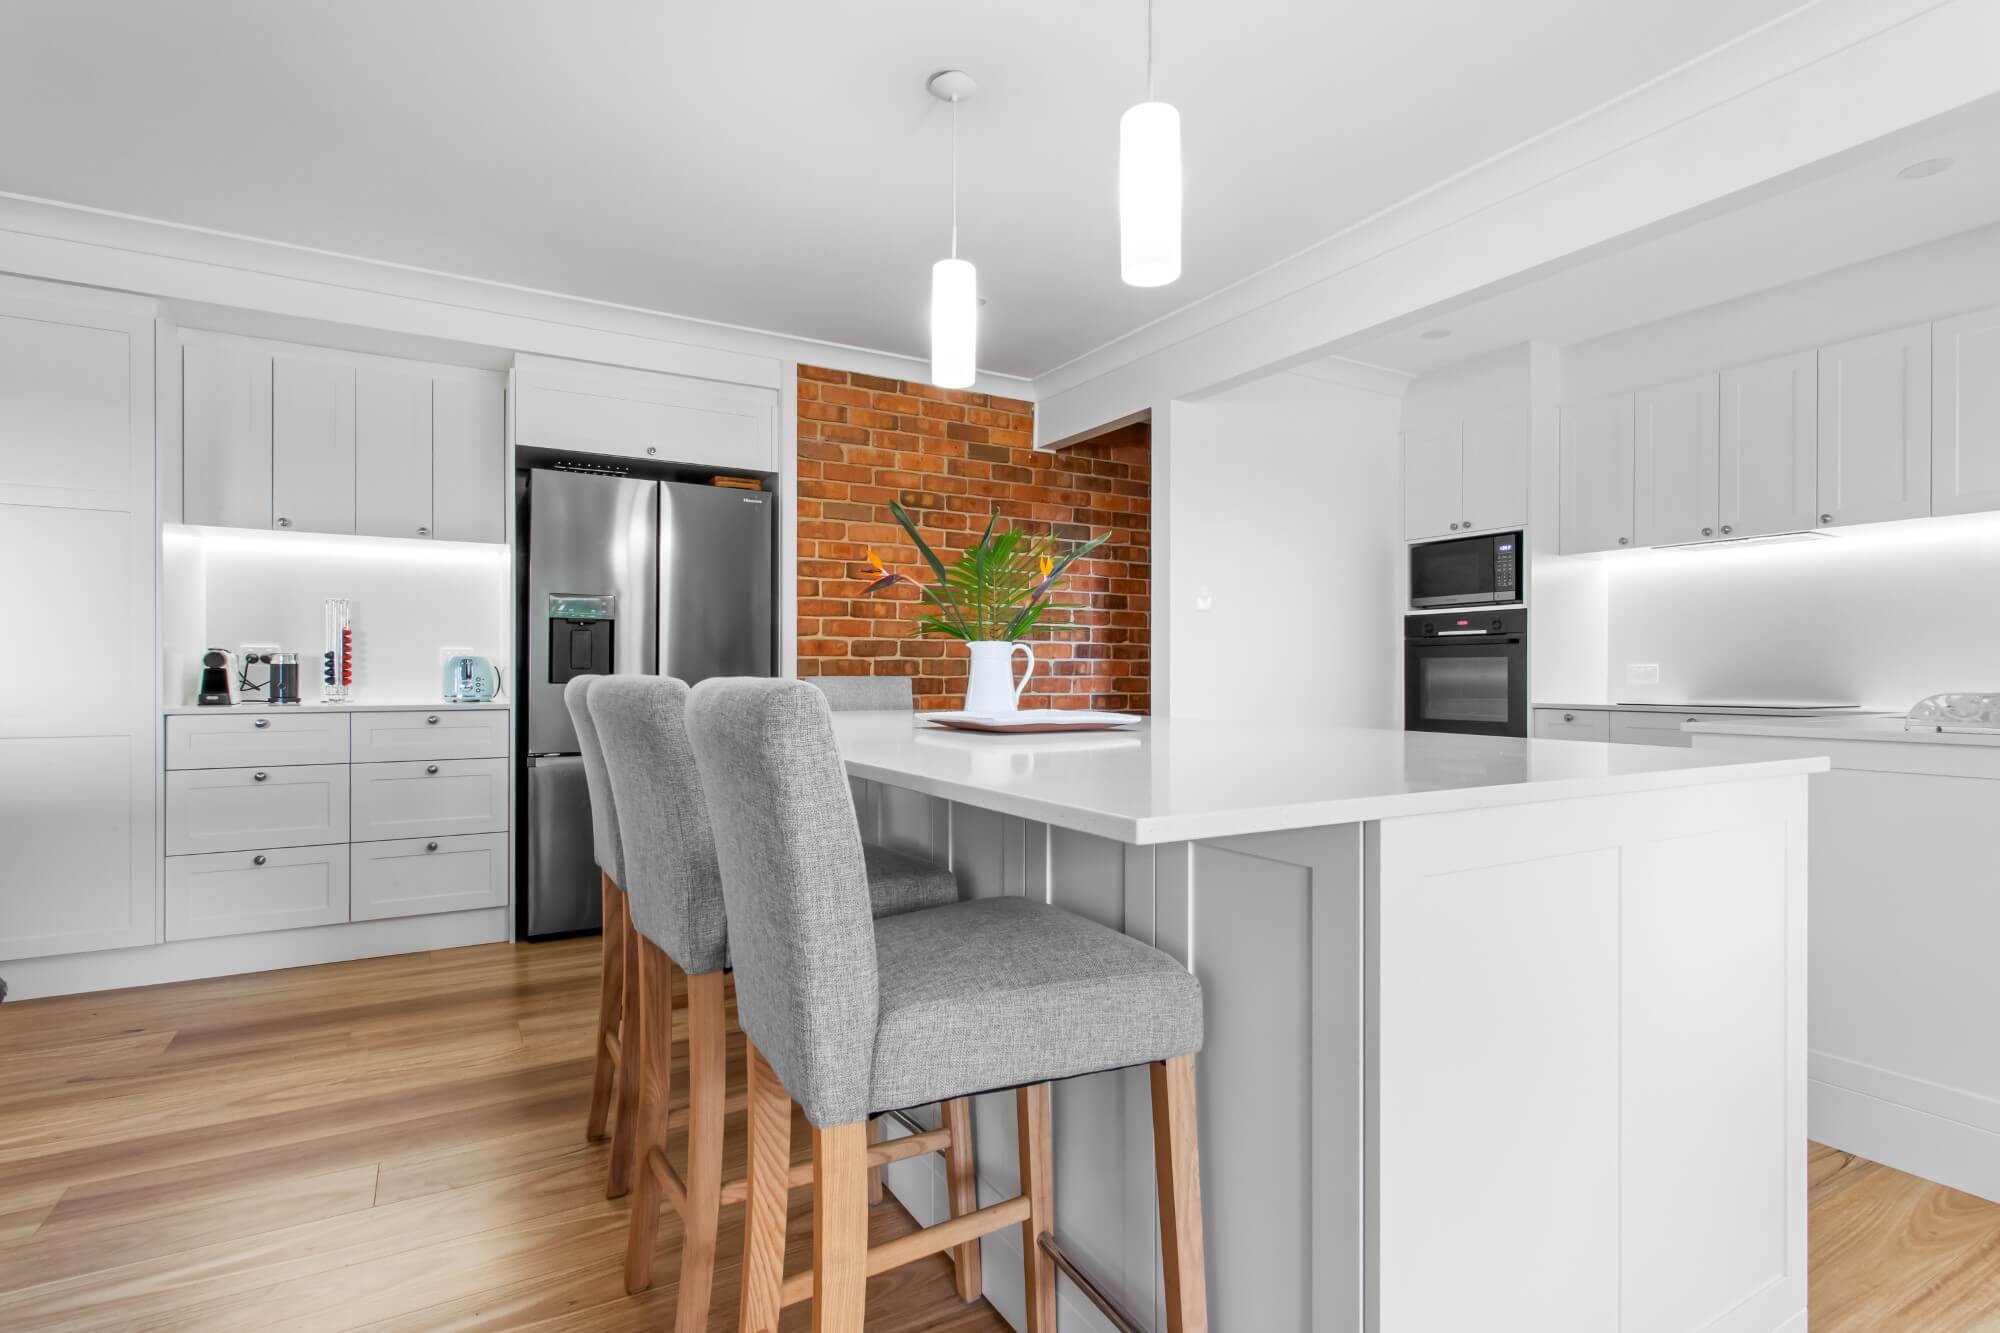
Layout follows from there. Coastal kitchens are almost always built to open onto a living or dining space, and an island is close to essential once that’s the case, it becomes the natural gathering point. A galley layout can still carry the look in a narrower home, but it needs the same light palette and natural materials doing the work without an island to help. If your floor plan won’t allow one, that’s worth knowing now, not after a layout has already been drawn up.
For a renovation, the existing footprint sometimes limits where things can go. For a new build, there’s more freedom to design around the style from the start. Either way, this is the conversation to have before a single finish is chosen.
Step 2: Choose Your Palette Direction Before Anything Else
A light base
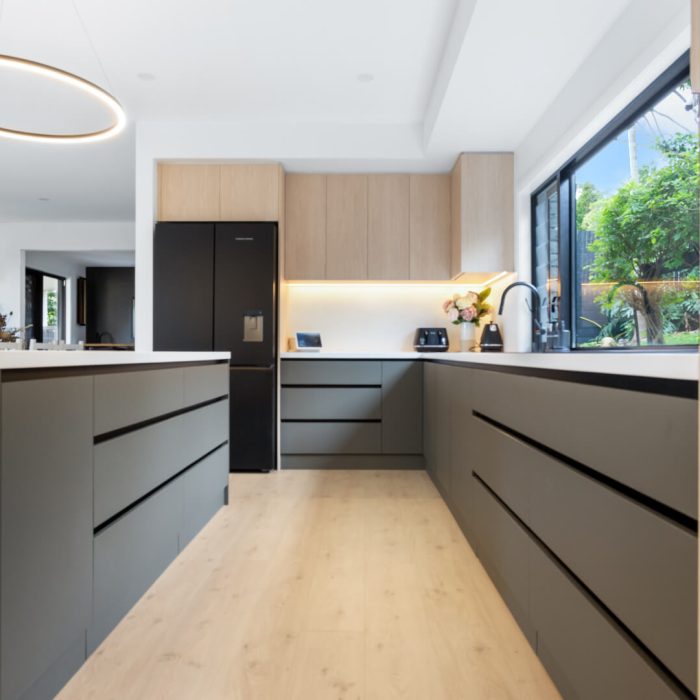
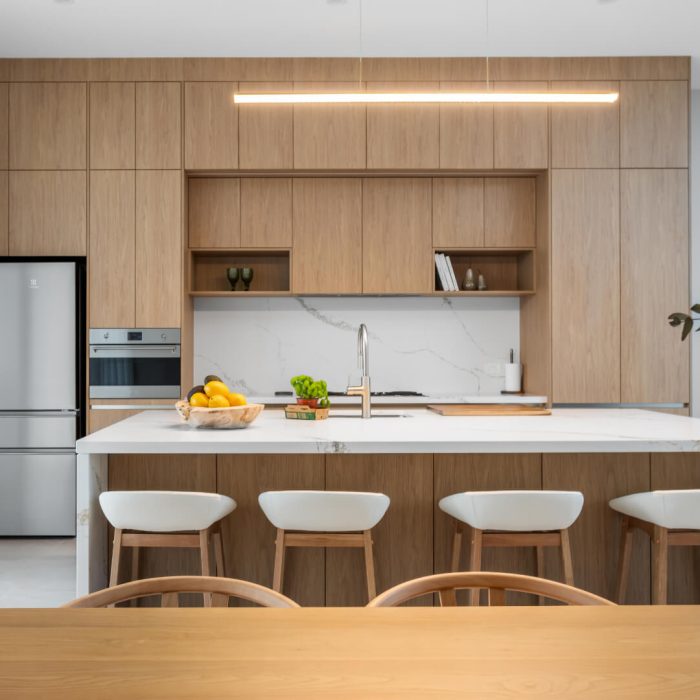
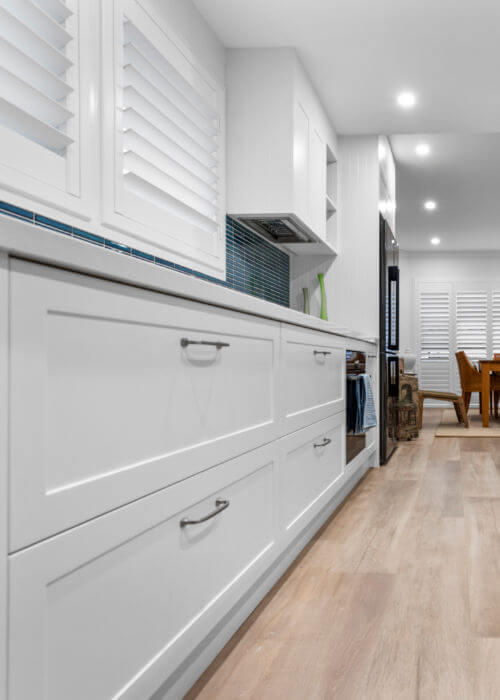
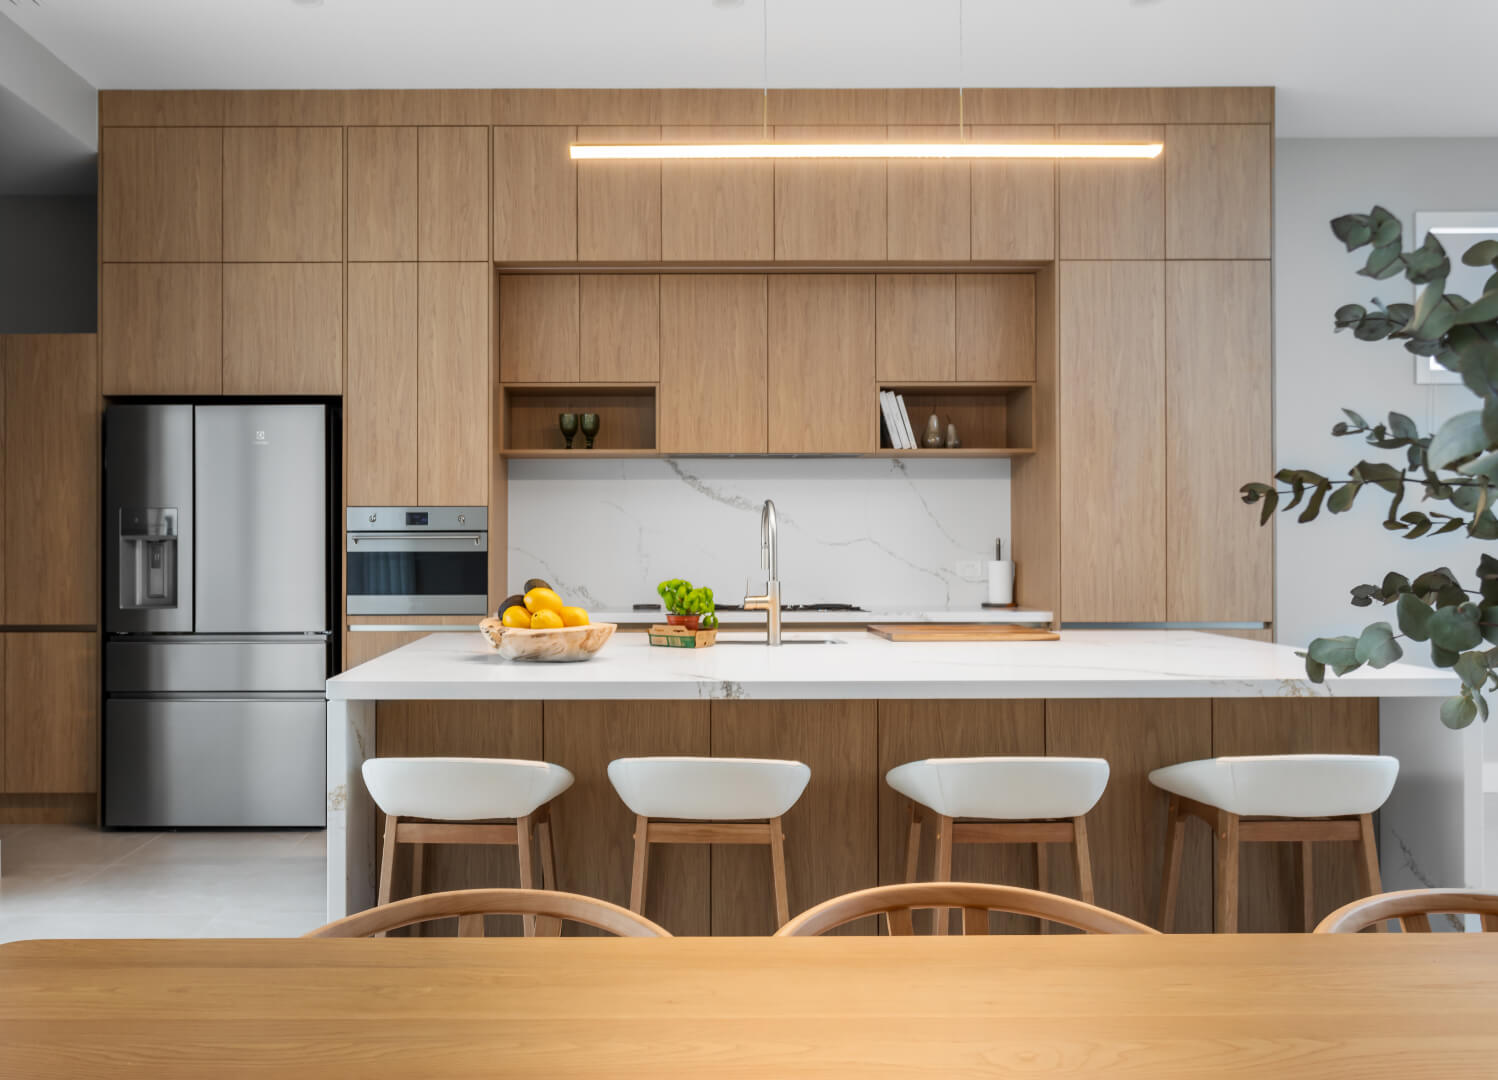
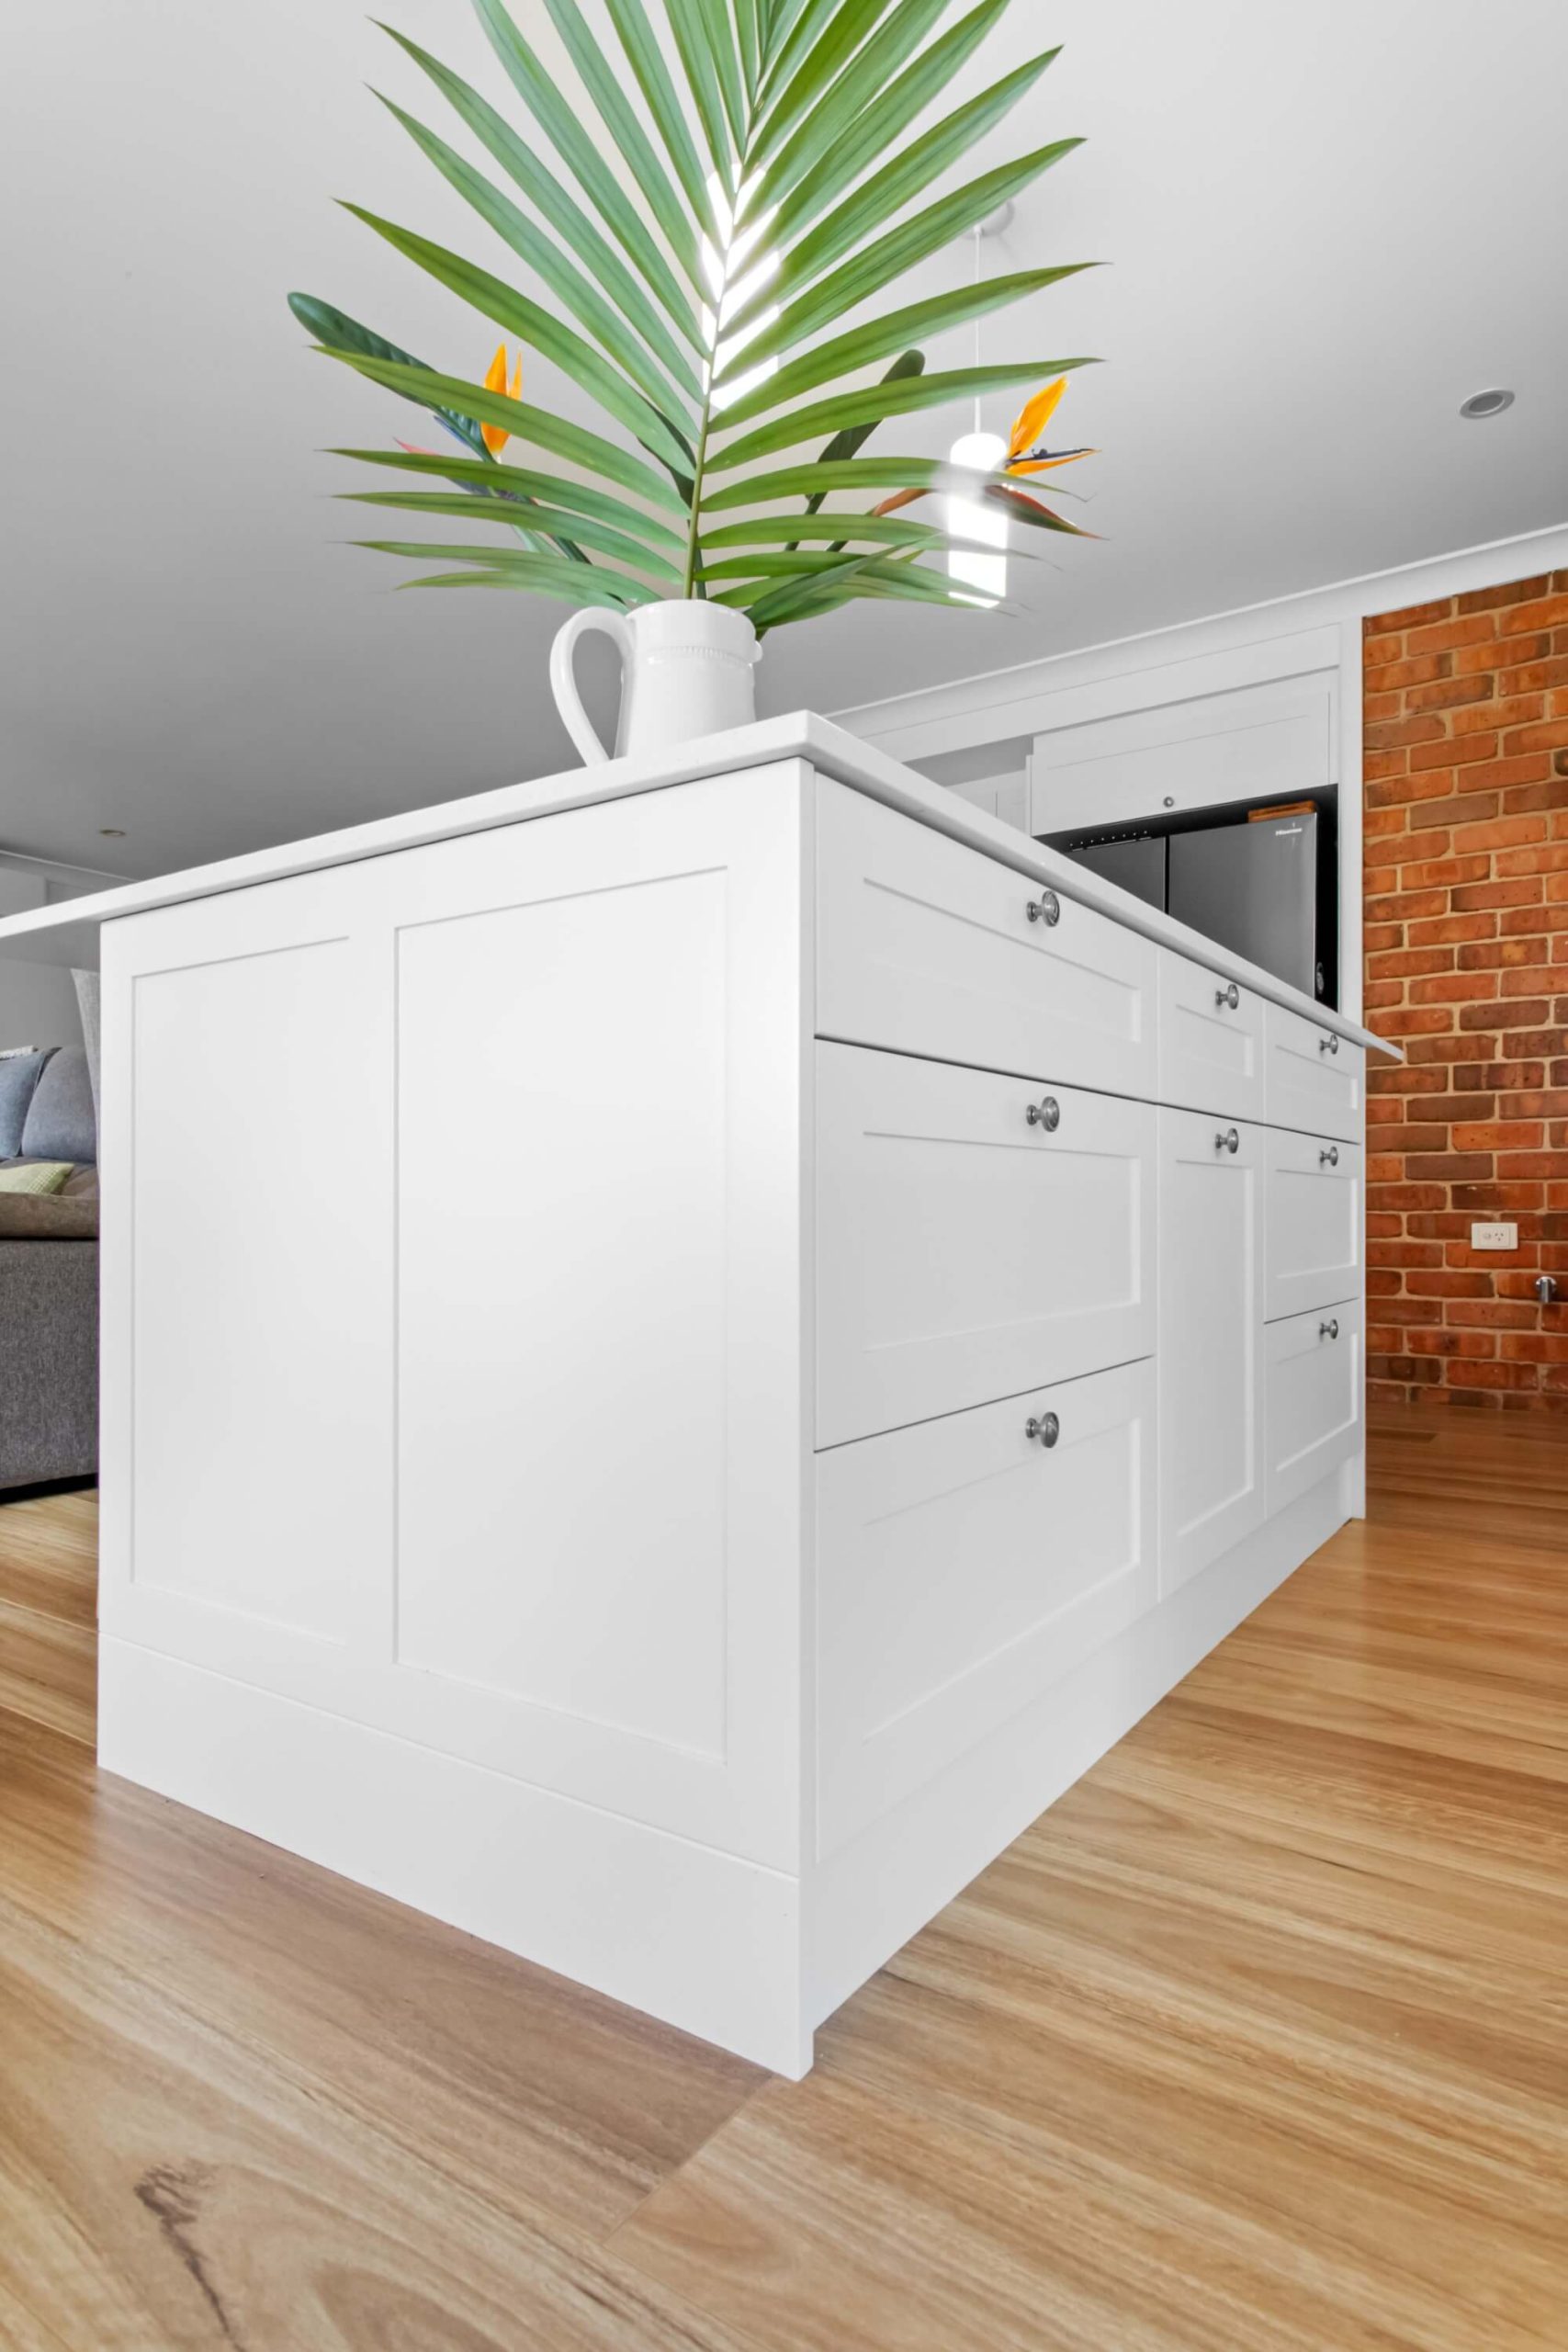
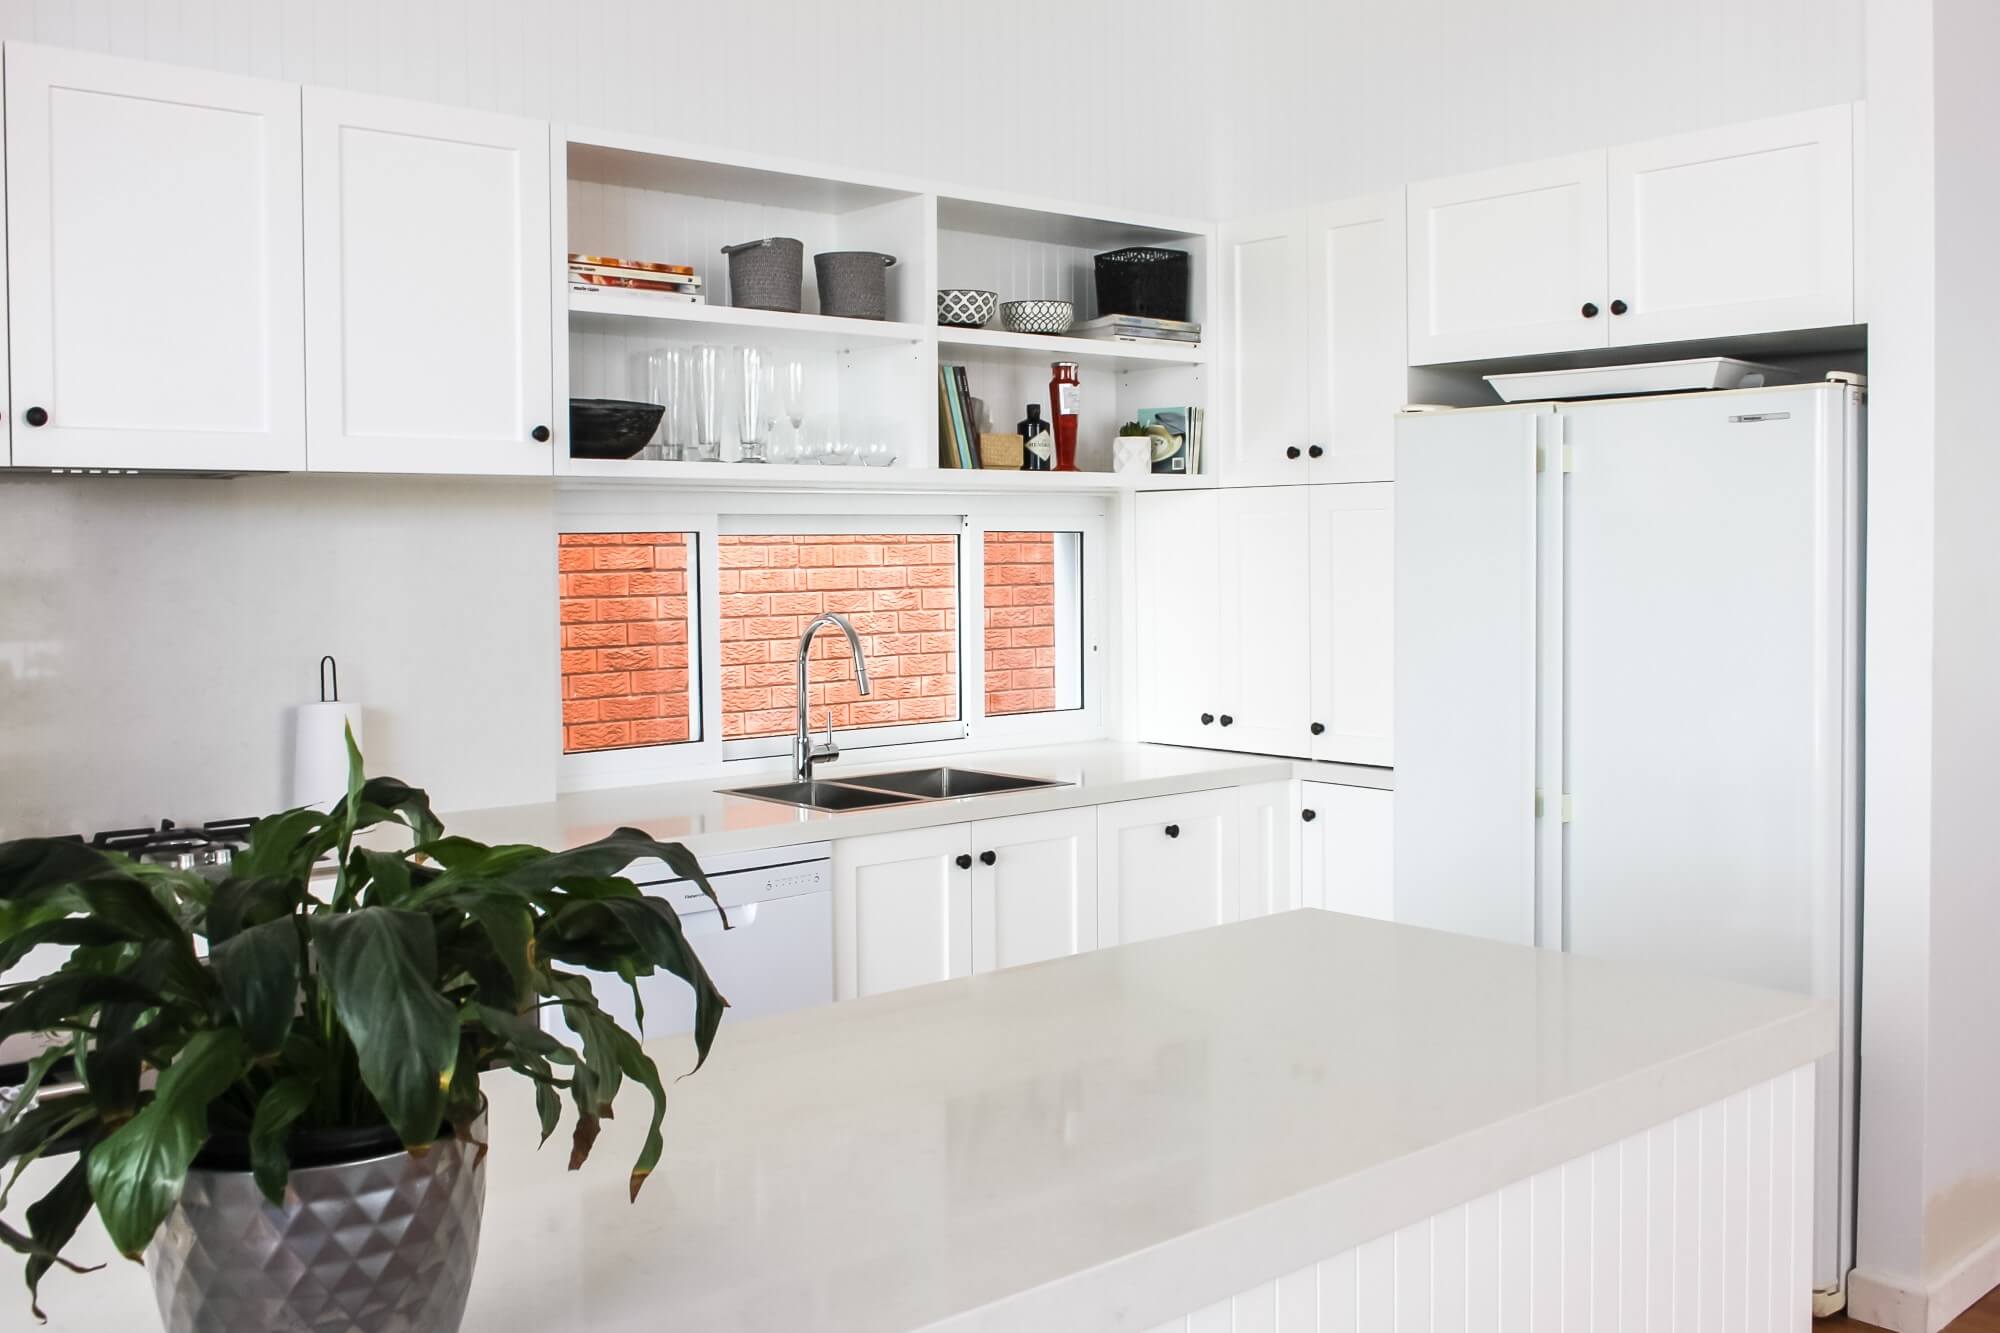
White or off-white cabinetry with warm timber accents, the version most people picture when they hear “coastal”.
A deeper anchor tone
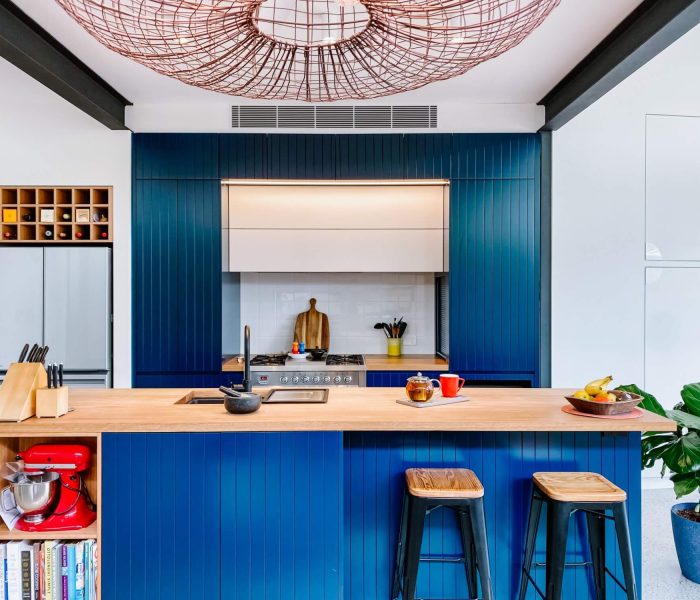
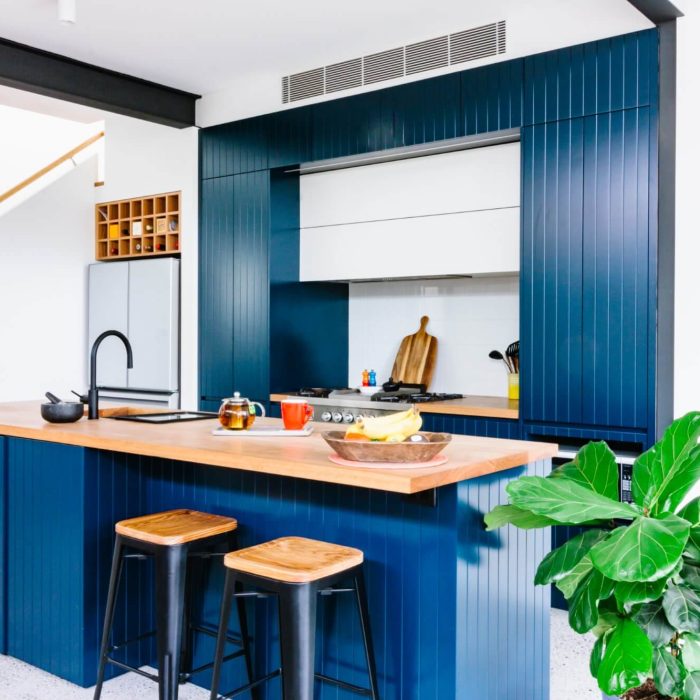
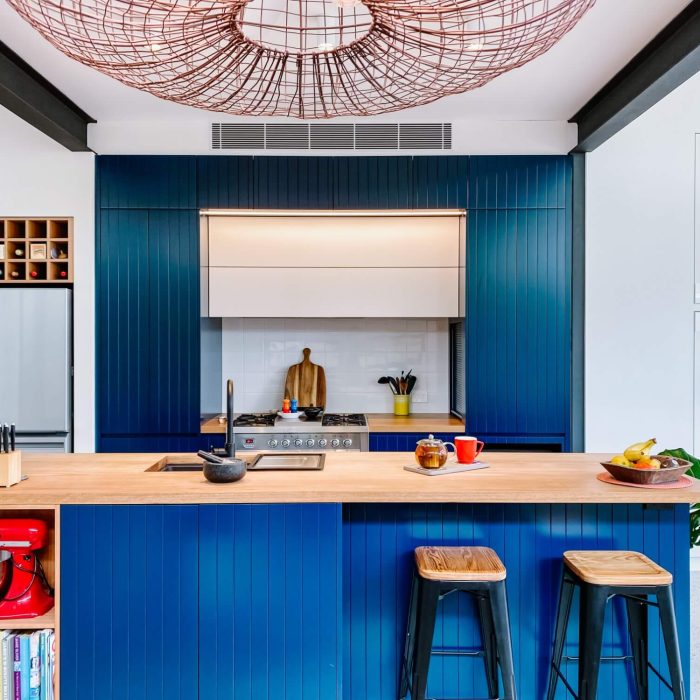
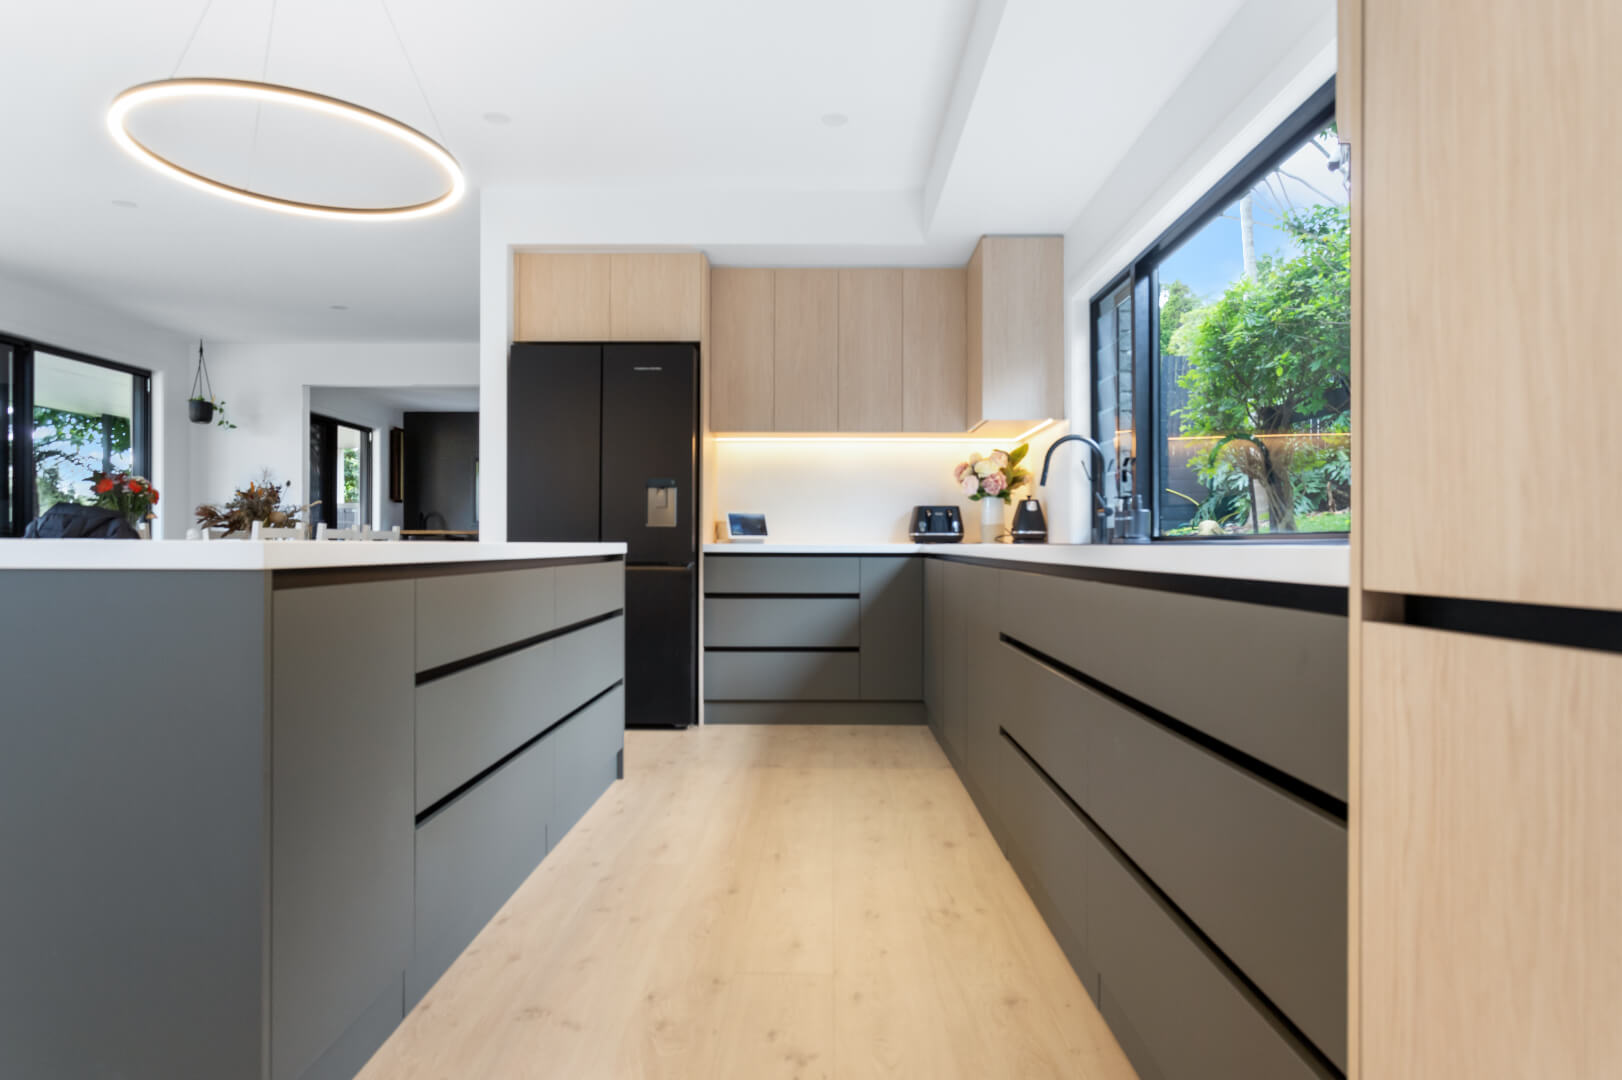
Navy or muted blue-green through the cabinetry, balanced by a lighter benchtop and timber elsewhere in the room.
The mistake we see most often at this stage is trying to run several accent colours at once, a bit of blue on the island, a timber feature wall, a patterned splashback layered on top. Individually each choice might look fine in a showroom. Together they compete, and the room ends up busy instead of calm. Pick one direction and let everything else in the kitchen support it rather than argue with it.
Step 3: Match Your Materials to the Palette You've Chosen
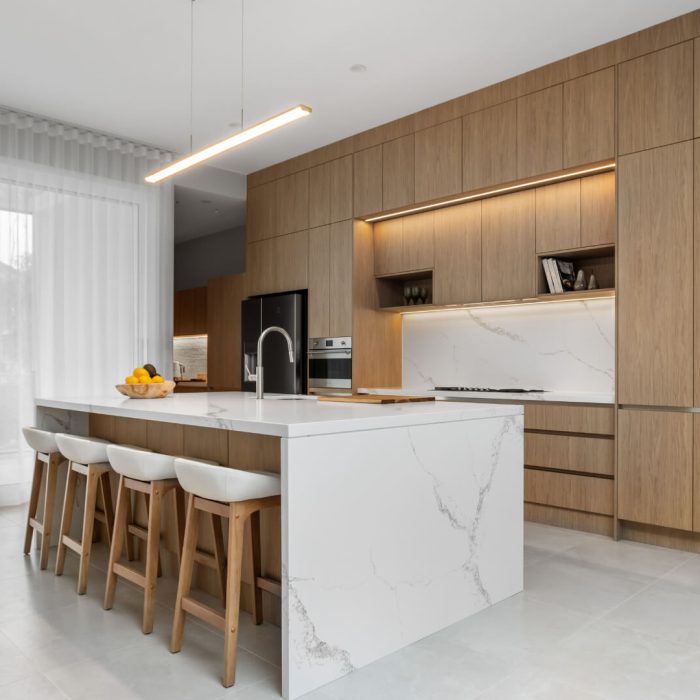
This is where warmth and practicality get weighed against each other, and it usually comes down to one of two options.
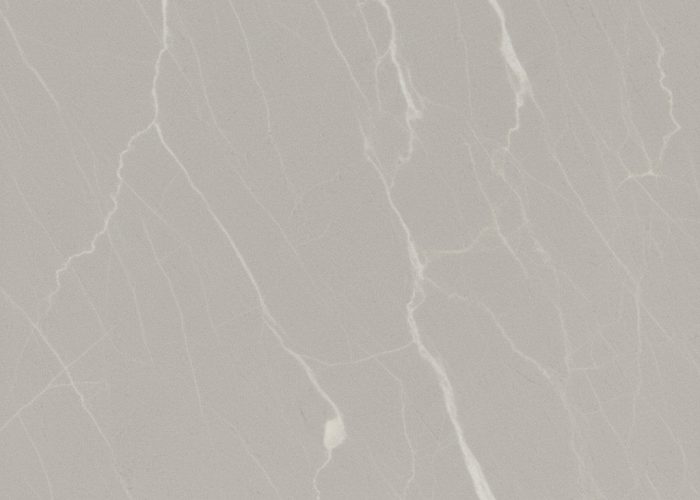
- Light engineered stone: the most common choice, bright, close to maintenance-free, and none of the upkeep a natural stone or timber benchtop needs.
- Timber, especially with a waterfall edge: more warmth at eye level. Needs the most looking after, oiling every six to twelve months, and it will mark and change colour with use. Most clients see that as character, but it’s worth knowing going in.
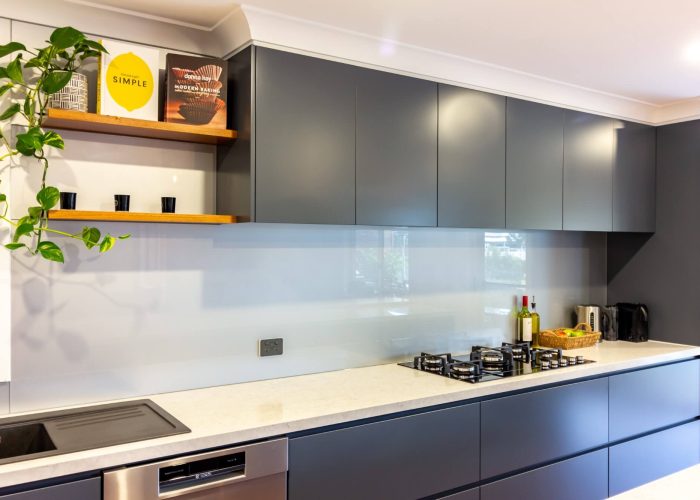
The finish carries the palette across every surface in the room, so it needs to hold colour evenly and wear well.
- Polyurethane: holds colour consistently, suits the deeper anchor palette well.
- Laminate, including timber-look finishes through Polytec and Laminex: suits a lighter palette and tends to be the more budget-conscious route.
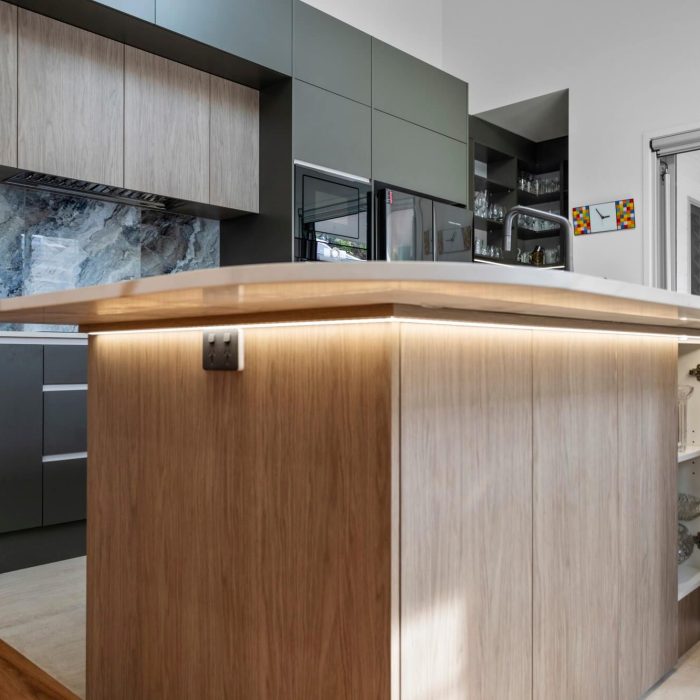
Hardware and tapware should follow the cabinetry profile rather than the other way around, they’re a small detail that either finishes the look or fights it.
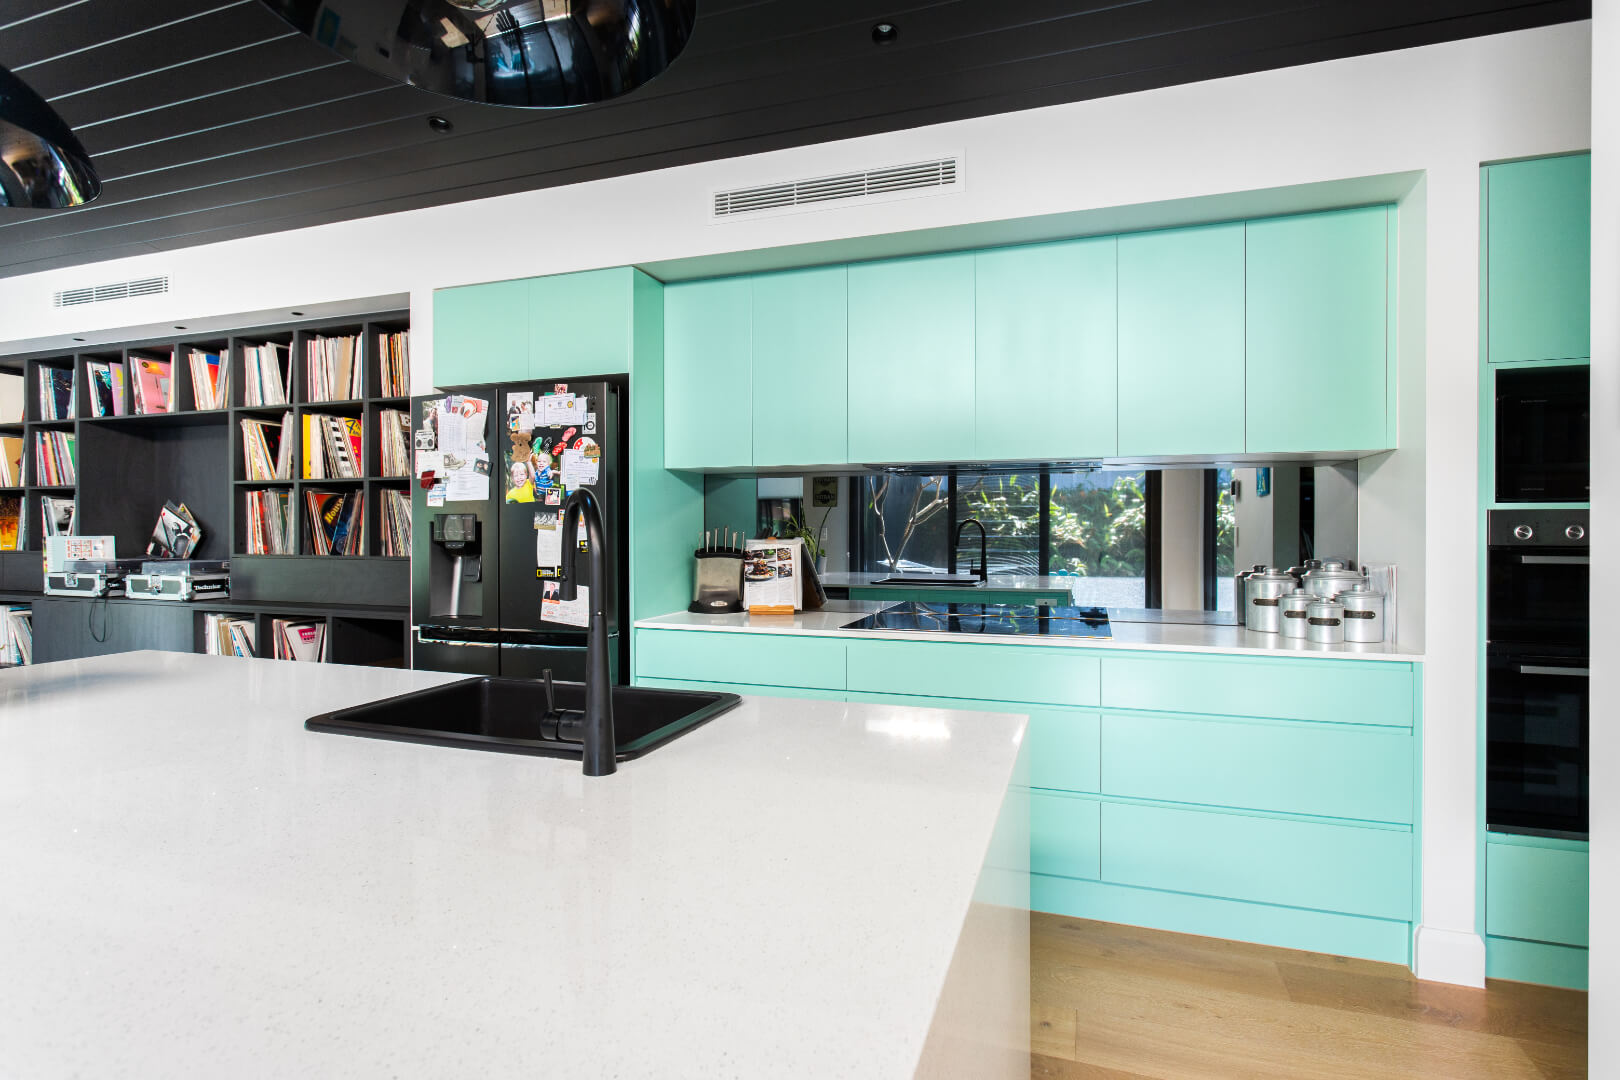
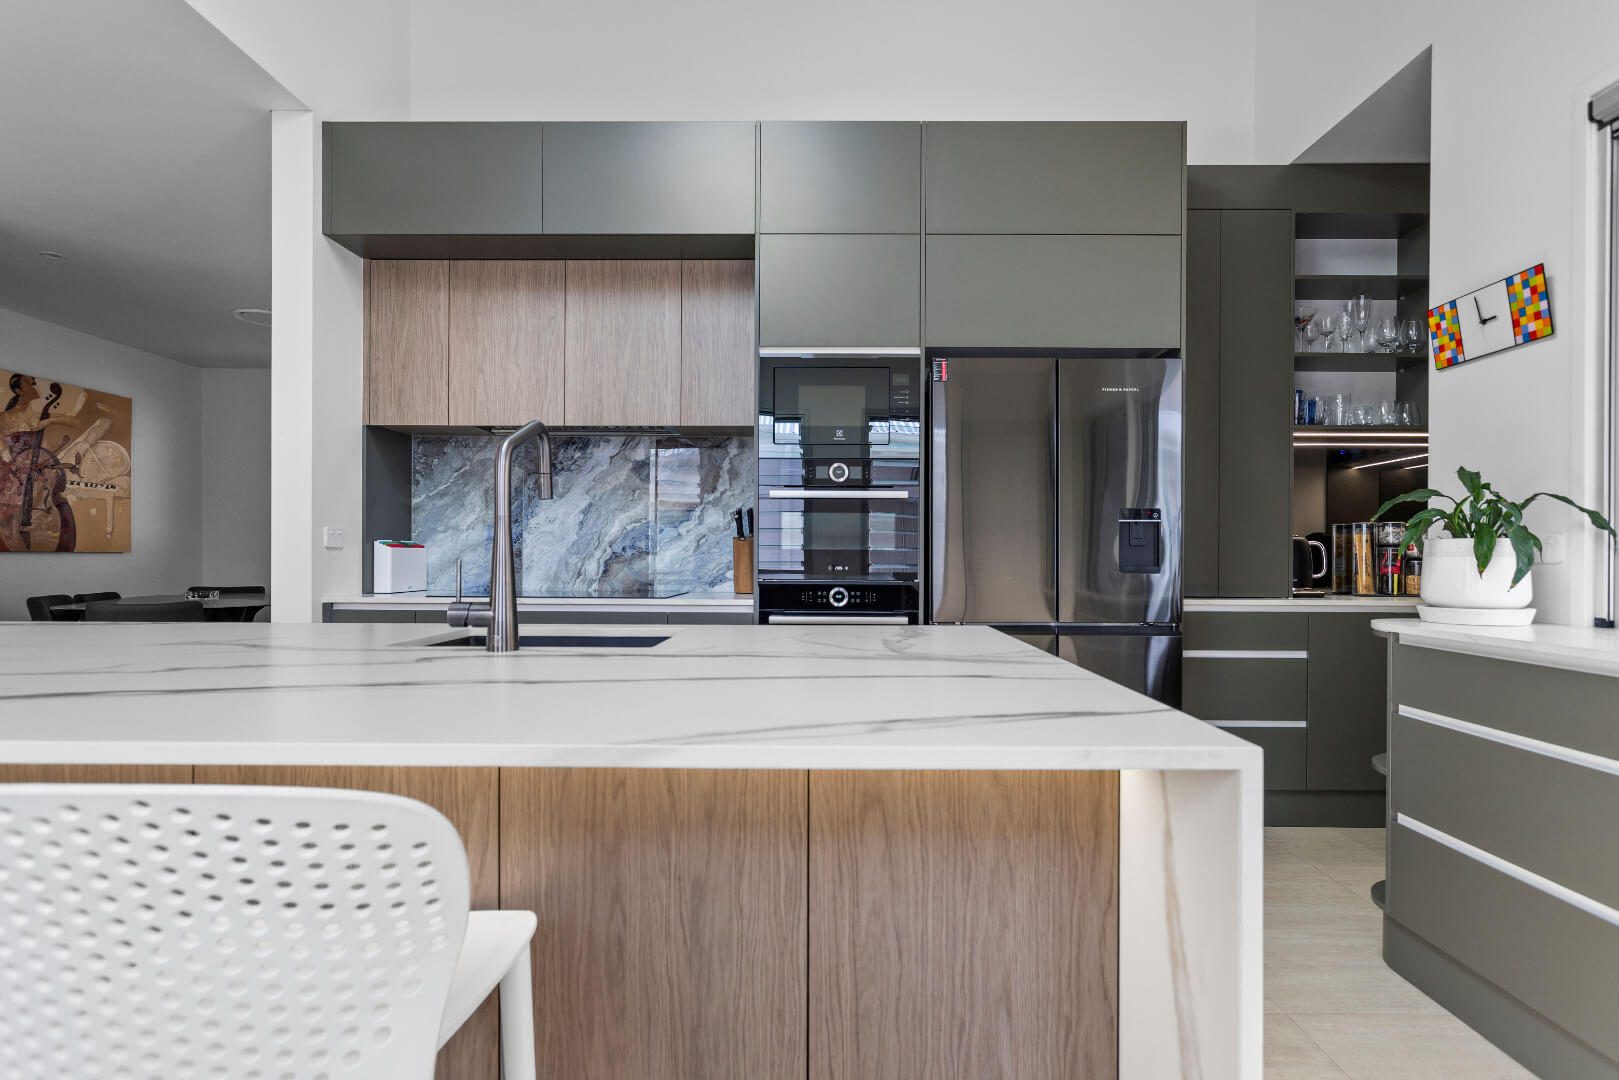
- Sharknose profiles or slim aluminium rail handles: suit a handleless, flat-panel look.
- Simple knobs or bar handles: suit shaker or V-groove cabinetry better.
- Tapware: usually a simple matt black or brushed finish in a coastal kitchen, coordinated across the sink, island tap and cabinetry hardware so nothing reads as an afterthought.
Step 4: Choose a Cabinetry Profile That Suits How You'll Actually Use It
The door profile is where a coastal kitchen either feels considered or feels like it’s borrowing from another style without meaning to.
Four profiles come up most often:
Vertical shiplap or V-groove
adds texture without introducing a pattern, one of the more distinctive choices in this style. Works especially well as a feature on an island end or a single run of cabinetry, rather than across every door in the kitchen.
Flat-panel
the opposite job, keeping the lines clean and letting the colour carry the visual interest instead.
Shaker
suits the lighter palette direction well, though it gets used less often once the cabinetry colour itself is doing most of the work.
Sharknose Shaker
bridges the two, a slightly more contemporary edge to a classic door shape, for something between fully modern and fully traditional.
There’s no single right answer here. It depends on whether you want the cabinetry to be the quiet backdrop or one of the features in the room, and that decision should follow from the palette direction you picked in Step 2, not fight against it.
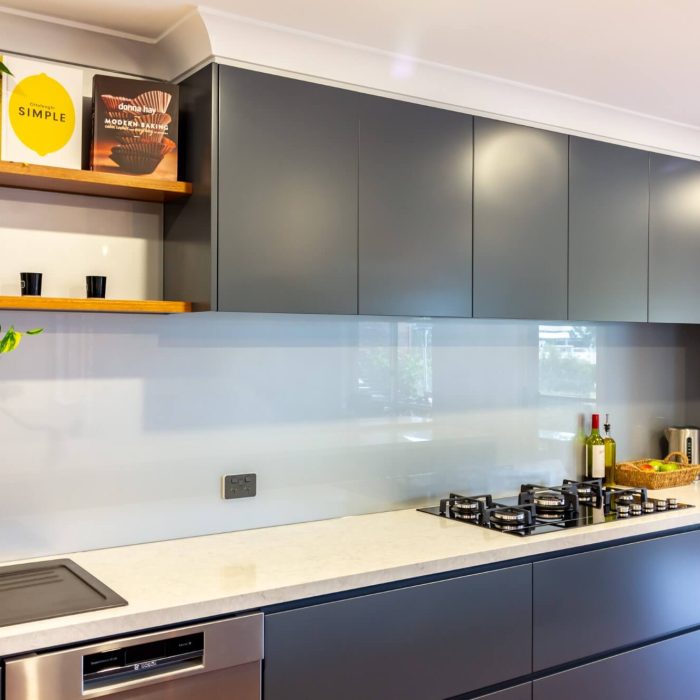
Step 5: Choose the right Splashback
These are small decisions individually, but they’re the ones that make a kitchen look finished rather than assembled from a list of separate choices.
Glass splashback:
keeps the wall quiet and suits the deeper colour palettes particularly well, since it lets the cabinetry and benchtop carry the interest without adding another texture into the mix.
Tiled splashback:
especially something with a soft handmade look or a subtle texture, adds warmth without competing with the rest of the room, and tends to suit the lighter palette direction.
Step 6: Build In the Storage Decisions Early, Not at the End
- Open shelving for cookbooks
- A spot for a stand mixer to live out on the bench instead of buried in a cupboard
- A small run of exposed timber storage rather than another wall of doors
Step 7: Match the Plan to Your Home and Your Timeline
Every coastal kitchen is different because every home is different, which is really the point of building custom cabinetry rather than working from a fixed range. What changes most between projects is how much freedom there is to design around the style from scratch.
An existing kitchen renovation sometimes has to work within a footprint that limits where an island can go or how far the layout can open up. A new build gives more room to plan the space around the style from day one, including where the light falls and how the kitchen connects to the rest of the home.

Consultation
We listen, measure, and talk through your space to understand how you want it to work.

Design
We create a tailored design that balances layout, storage, and style to suit your home.

Manufacture
Cabinetry is made to measure in our factory using quality materials and construction methods.

Installation
Our experienced team installs your cabinetry with care, precision, and attention to detail.
Kitchen FAQs
Choosing a kitchen is easier when you can see materials, finishes and design options in person. Visit our showroom to explore ideas and make decisions with confidence.
Do I need to pick the colour palette before I choose a benchtop?
Yes, in that order specifically. The palette direction, light base or deeper anchor tone, determines which benchtop and cabinetry finishes will actually suit the room. Choosing a benchtop first tends to lock in decisions that fight the palette later.
Can I mix the light palette and the deeper palette in the same kitchen?
You can, most coastal kitchens do this to some extent through a lighter benchtop against darker cabinetry, but it works best when one direction is clearly dominant. Splitting the room evenly between the two tends to look undecided rather than intentional.
What's the first thing I should decide when planning a coastal kitchen?
Layout and light, before colour. Where the light enters the room and how the kitchen connects to the rest of the home affects almost every decision that follows, including whether an island will work.
Is it worth visiting a showroom before finalising a palette?
Yes. Seeing cabinetry finishes, benchtop materials and splashback options together, rather than as separate samples, makes it much easier to judge how a palette will actually read in a full kitchen. Our West Gosford showroom has full kitchen displays set up for exactly this reason.
Design a space you'll love coming home to
It starts with a conversation, a few ideas, and a space that’s designed around you. Let’s explore what’s possible for your kitchen or wardrobe.